Change your own user account type from administrator to "standard user"
Every PC needs at least one administrator. That account has the "elevated privileges
" needed to do pretty much whatever it wants to the computer. That's why the first account automatically set-up on your PC is an administrator. But, for security reasons, you should set-up another administrator account as soon as you can, and convert your own account type to a regular, "standard user". You can always run programs as administrator when needed, by right-clicking: 
Switch your account type to a standard user
Windows 10 includes a new "Settings" app, but hasn't yet (late 2021) migrated all functionality to it. For those options, you can still use the old style Control Panel. Because this approach may be discontinued before 2025, I'll show you both approaches. (2025 is the year Microsoft stops supporting Windows 10.)
To access the Control Panel, hold down the  key on your keyboard and press the letter R. When the "Run dialog" opens, type "
control
" and hit Enter: 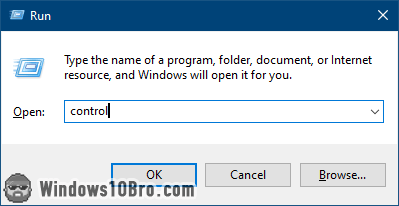
When the Control Panel opens, click "Change account type" on the right: 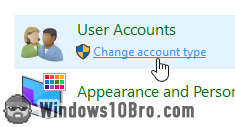
Click on your own user account in the list of users that appears in the next screen. Then, click on the "Change the account type" link: 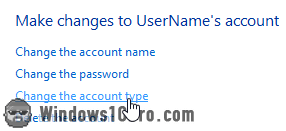
Next, select "Standard" and click on the "Change Account Type" button: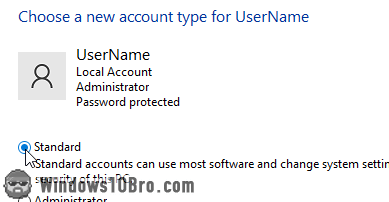
 The change has been made, and you're now a "standard user". However, the change doesn't fully take effect until you log-out of Windows and log back in.
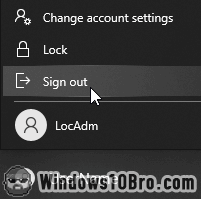
To do so, close all running programs. Then, click on the start button (Windows logo) and click on your username. In the submenu that opens, select "Sign out". Once you log back in, you'll be running as a standard user, and be much safer as a result.
Set yourself as a standard user from the command line
If you feel comfortable with the command prompt, you can change your own account type from the Windows CLI. Click on the start button, type "cmd", and hit Ctrl+Shift+Enter (to launch it with elevated privileges).
When the prompt window opens, type the following command and hit Enter:net localgroup users 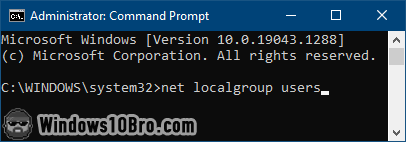
Change account type from the administrator's account
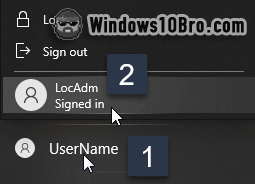 To log-in as the administrator, click on the start button (the Windows logo), and click on your username: it shows your picture or a user icon.
Then, select the administrator's account. This brings you to the lock screen its password field: type the admin's password and hit Enter.
Once you're logged-in as the administrator, click on the start button and type "user
". Click on the "Add, edit, or remove other users" result: 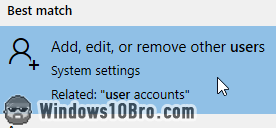
This opens the Settings app and loads the "Family & other users" screen. Click on your username to select it, and click on the "Change account type" button: 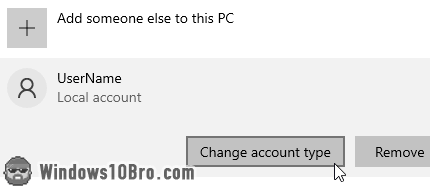
Select "Standard User" from the dropdown, then click OK: 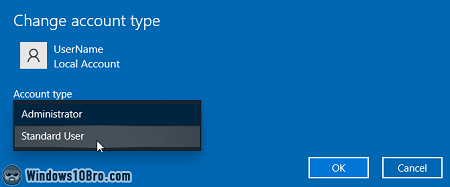
You are done: you can log off the administrator's account and resume using your own account. For the change to fully take effect, you need to also log out of your own account, and log back in. (See last paragraph of previous section.)
You can still run programs as an administrator
As you can tell from the first screenshot, being logged-in as a standard user doesn't mean that you no longer have access to administrative privileges. There are two ways you can run programs with elevated privileges.
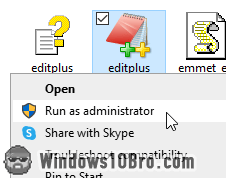 To launch a program or shortcut as admin, right-click on it and choose "Run as administrator" from the context menu. You'll be prompted for the admin password and be on your merry way.
You can also launch a program as administrator from the start menu or Run dialog. In both cases, just type the name of the program: and instead of hitting just Enter, hit Ctrl+Shift+Enter - all three keys at once.

