

Always show scrollbars / make them thicker
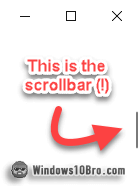 By default, Windows 10 hides scrollbars into an impossibly thin (and barely visible) vertical line on the right of the window. They become thicker when you hover over them for a couple of seconds but disappear into thin lines when you mouse away.
Fortunately, you can make Windows show the old, thick, and always visible scrollbars. I nearly didn't write this tutorial because it's so short and simple. But I don't know how many people don't realize that they can have their old scrollbars back, including in the start menu.
Restore the classic scrollbars
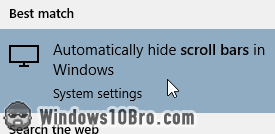 To restore the classic, thick, and always visible scrollbars, click on the start button (Windows logo) and type "
scroll bars
" - yes, you have to type it as two separate words for some reason. Then, click on "Automatically hide scroll bars in Windows".
In the Settings app, uncheck the "Automatically hide scrollbars" toggle: 
As soon as you do, the classic scrollbars are restored. Here are dramatic before-and-after screenshots. The Settings window before I uncheck the toggle: 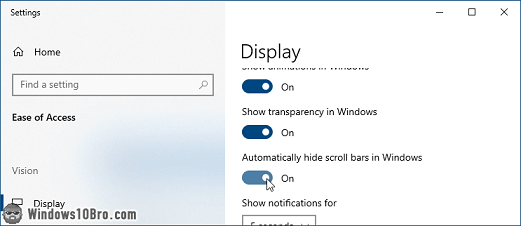
And now, here's the same window after I unchecked the toggle. Notice that both the right pane and left pane now include thick and always-visible scrollbars: 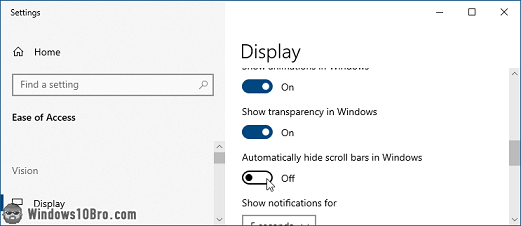
You'll particularly enjoy the classic scrollbars in your start menu, on the apps side and the tiles side. Scrollbars aren't just about scrolling; they're also about hinting at the amount of content on the page, in the container, etc.
Show the classic scrollbars in Microsoft Office apps
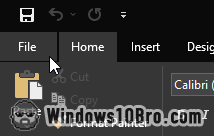 This isn't strictly related to Windows 10, but since so many people use Office... Here's how you restore the traditional scrollbars: first, open an Office app, like Word or Excel. Then, click on the File button near the top left corner and select "Options".
In the Options popup that opens, select the "Advanced" section on the left.
Scroll down to the Display heading on the right, and check the "Show vertical scroll bar" checkbox and/or the "Show horizontal scroll bar" checkbox: 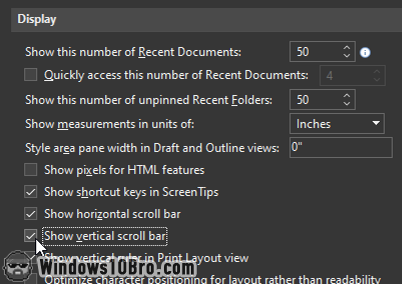
Click OK to save the change. (Note: horizontal scrollbars are helpful when zoomed into a spreadsheet or a Word document in "landscape" mode.)
Related settings
 There are two related settings that I always change when I get a new laptop. In Windows 10, the trackpad (touchpad) scrolls in a logical way. But, if you're accustomed to the old two-finger scroll direction, you'll probably hate it (especially if you switch between laptops with a different scroll setting). But you can change the trackpad's scroll direction.
The second setting has to do with the "caret
", or text cursor. By default, it blinks every second or so. I find that distracting. It's also only one pixel wide, which is really thin. I recommend you try to make your text cursor not blink and set it to two pixels wide - you may like it: change how often the caret blinks.